How to Make Traditional Ghee in Your Oven
Undeniably, making ghee at home might not be part of your everyday kitchen routine, but once you get the hang of it, it becomes an infrequent task that delivers immense rewards. Our focus today is on this golden, potent ingredient – ghee.
After learning to make ghee in the oven, you might also like discovering the practical method to freeze tart cherries.
Ghee: The Heart of Indian Cuisine
Ghee is essentially clarified butter that has been simmered a bit longer to let more moisture evaporate, consequently caramelizing the milk solids to offer a rich, nuttier flavor. The process involves melting butter slowly, allowing the milk solids to sink and the water to evaporate, leaving you with pure butterfat. This butterfat is your clarified butter, but when simmered a bit longer, it morphs into ghee.
Benefits of Ghee
The advantages of ghee extend beyond just being an ingredient in Indian cuisine.
- Firstly, it has a higher smoke point compared to regular butter meaning it doesn’t burn easily at high heat, making it an excellent choice for stir-frying or searing;
- Secondly, being free of milk solids, ghee is often tolerated by those with dairy allergies while still imparting a buttery flavor;
- Lastly, ghee’s long shelf-life, combined with its ability to be stored at room temperature for prolonged periods, makes it a practical ingredient in any kitchen.
Home-Made Ghee: A Cost-Effective and Quality Choice
Love for ghee isn’t the only reason to make it at home; cost plays a significant role too. A small half-pound jar of ghee at a health foods store can cost over $10. By contrast, making ghee at home using organic butter only costs around $4, giving you more quantity and quality for less.
Step-by-Step Guide to Making Ghee at Home

Making ghee is surprisingly simple and requires very few tools. For this method, an oven-proof dish is all you need. Let’s walk you through the steps:
Ingredients:
- 1 pound (4 sticks) organic unsalted butter
Instructions:
- Preheat your oven to 200º;
- Place butter in a small oven-proof dish and put it in the oven;
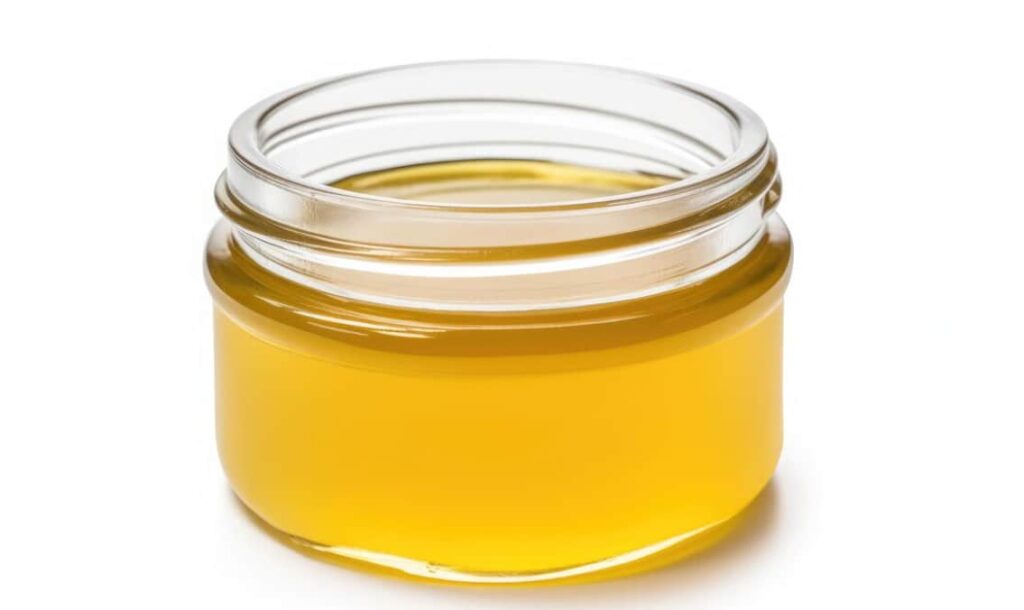
- After the butter melts, wait for it to separate. The milk solids will sink to the bottom, leaving a clear, golden liquid on top;
- Monitor the dish every 15 minutes after the first half hour. Once the foam has cleared from the surface and the liquid is golden, carefully remove it from the oven. This might take between 1 to 1.5 hours;
- Skim the golden liquid into a clean jar or strain it through dense cheesecloth or a coffee filter placed over a fine sieve. Discard the milk solids;
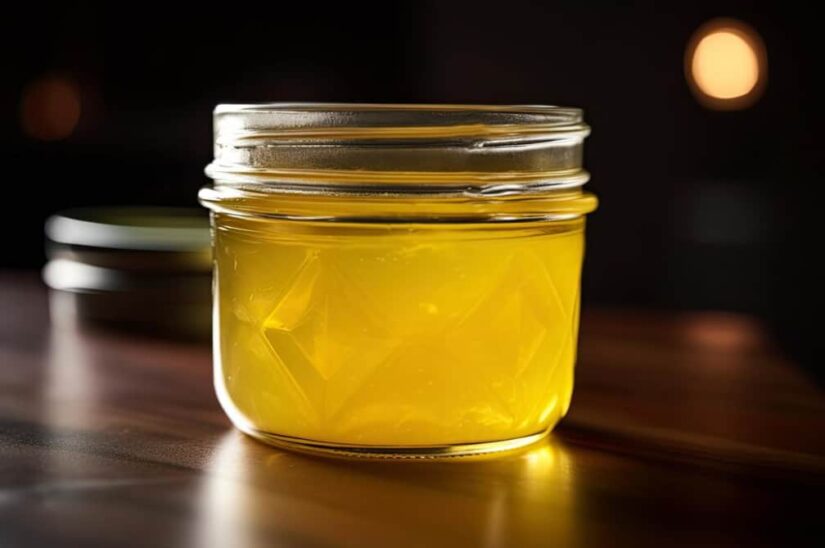
- Allow the jar to cool. Once cooled, it will solidify to a spreadable consistency;
- Your homemade ghee can now be stored at room temperature for several months in a sealed jar.
Tips for the Best Homemade Ghee
Use only organic, unsalted butter to ensure you have the finest quality ghee. For straining, if cheesecloth doesn’t work for you as it’s not dense enough, try a coffee filter. It separates the milk solids effectively, though it requires a bit of patience. One key observation to note is that homemade ghee could have a slightly gritty consistency compared to store-bought ones. This is completely normal and doesn’t mean there are milk solids left in your ghee.
And there you have it, an easy, pocket-friendly method of making ghee in the oven. By using this simple technique, you can ensure that you always have this nutritious, flavorsome element handy in your kitchen. Additionally, it also allows you to regulate the quality of your ghee. So go ahead, take control of your kitchen, and start cooking!
Conclusion
Transforming butter into ghee may initially seem like an unneeded step, but its manifold benefits undoubtedly justify the effort. Whether it’s about harnessing ghee’s high smoke point for versatile cooking, enjoying the rich, nutty flavor it adds to dishes, or even utilizing it as a dairy-free alternative, the advantages are extensive. Moreover, homemade ghee is a cost-efficient approach that guarantees the best quality, given you use organic, unsalted butter. Remember that patience is key in the straining process, and a slightly gritty texture in your homemade ghee is entirely normal.
